

WHAT IS A PRIMARY SURVEY IN FIRST AID?
When it comes to first aid what is a primary survey?
This article details what a primary survey is and what it includes.
Primary Survey
The first step in treating a medical emergency in the workplace is to conduct a primary survey.
A primary survey involves,
- observing for dangers to you and the victim
- Check Consciousness
- Clear Airways
- Checking Circulation
Step 1 – Evaluate The Situation
You cannot help a victim if you become a victim.
The first element of a primary survey is checking level of danger involved in the situation.
When undertaking First Aid, it is important to keep in mind both your own personal safety and that of the patient. It is important to move swiftly but with extreme caution. Ensure that you do not place yourself into a situation where you may become part of the emergency.
Take particular care not to come into contact with electrical current. In the case of suffocation as the result of fumes or smoke, you must ensure not to place yourself in danger by remaining in the space where the patient encountered the toxic element.
Once you know the environment is safe for you you can proceed.
Step 2 – Check Consciousness
Once the danger has been carefully assessed, you should then proceed to check the consciousness level of the victim. Hopefully the victim is conscious with minor injuries. This ends the primary survey and you can progress to the secondary survey. A first aid secondary survey is an evaluation of the injuries.
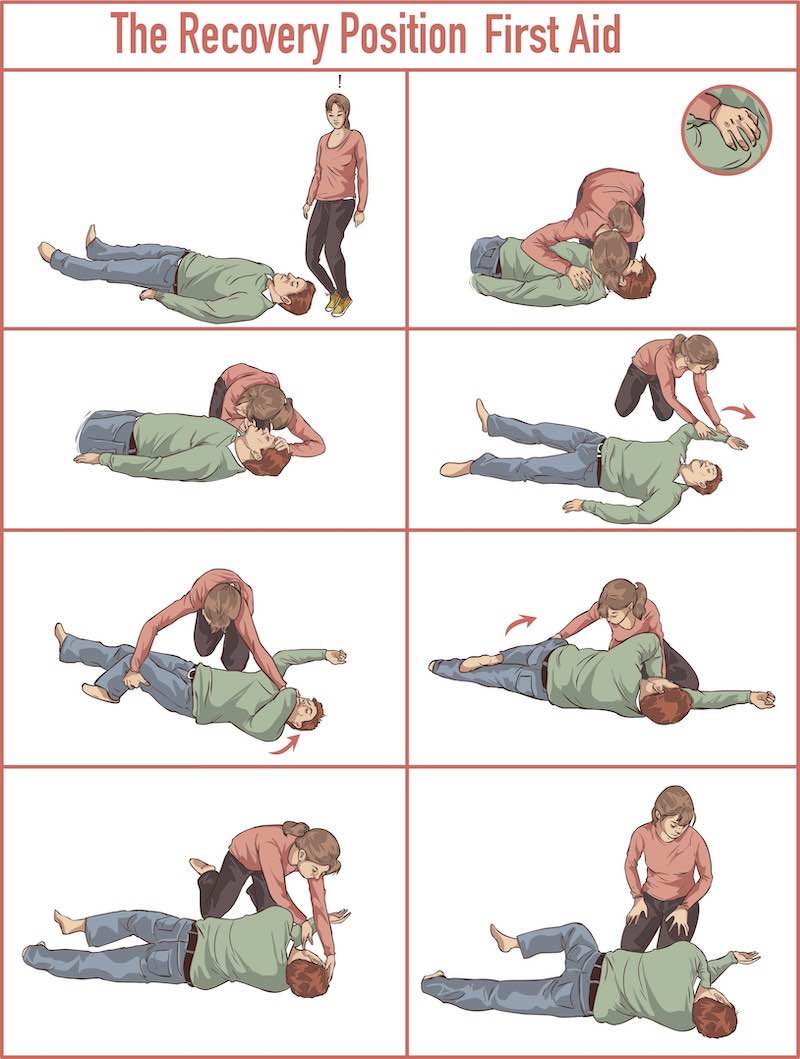
If the victim is conscious with serious injuries but not back injuries for example a knock on the head, call the emergency services and put them in the recovery position. The recover position aims to keep airways open.
If the victim in unconscious or non-response continue to step 3 of the primary survey. Clearing airways.
Step 3 – Clear Airways
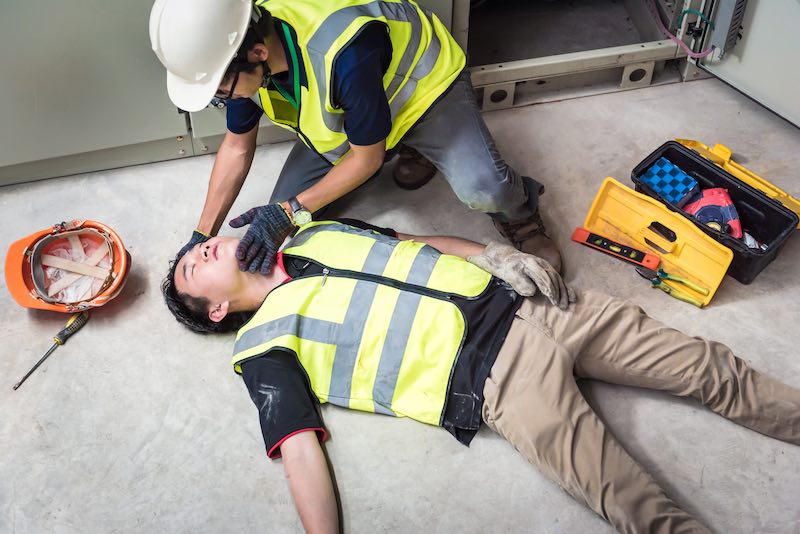
If a victim is unconscious then continue on to the next phase of the primary survey – checking (and clearing) the airways.
If victim is facedown, gently roll victim onto their back. If back or neck injury is suspected enlist aid of others to keep victim’s head, neck, and back aligned as you roll victim over.
Care is also vital when it comes to moving the victim where a back or neck injury may be present. Always make it clear to the victim and bystanders what you are attempting to undertake. By making loud and clear statements to the victim you can reassure them and indicate to bystanders that you are trying to deliver First Aid.
Once the victim has been rolled over, then proceed to open the victim’s airway using head-tilt. Kneel by victim’s side, place one of your hands on victim’s forehead, and gently tilt victim’s head back. Place fingers of your other hand on bony part of victim’s chin – not on throat. Gently lift chin straight up without closing mouth.
If the airway is clear then try to gauge the ease of breathing. Look, listen, and feel for breathing for 5-10 seconds by placing your cheek near victim’s mouth and watching for chest to rise and fall.
Step 4 – Check Circulation
Finally, check for signs of circulation, such as movement, groaning, or coughing. If victim is not breathing and has no signs of circulation, phone the emergency services and commence CPR.
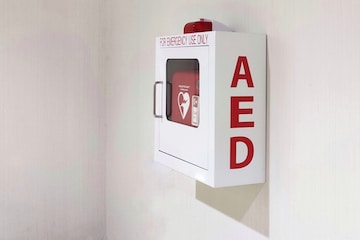
If possible as a bystander to retrieve an AED (Automatic External Defibrillator). Also referred to as simply Defibrillators or PADs (Public Access Defibrillators).
Checking the Airways, Breathing and Circulation of a victim are often referred to as the ABCs of Emergency First Aid. To learn more about First Aid you or your staff may with to take our online First Aid at Work course.
This ends the article What is a Primary Survey?